Showing posts with label Preschool. Show all posts

Sunday, October 26, 2014

Surprise Ice Cubes Sensory Activity

As I've mentioned before, we've been helping Junior work through his sensory processing issues caused by his deafness, and part of that is creating many opportunities for him to experience a lot of different textures through play.

This weekend, in a moment of blazing Mommy Glory, I got out the well-loved sand-water table and filled half of it with water, and the other half with dried beans. I imagined my children gently playing with the water and running their hands through the beans while giggling in delight. I then imagined them playing outside for an hour while I cleaned the house, then we would all meet inside for hot cocoa and freshly baked cookies.

Hahahaha. Hahaha. Ahem. HAHAHAHA.

This is what happened after 10 minutes. We had to order a ShopVac. Not joking. By the way--wet black beans stain concrete. 

Soooooo, I decided to find some less messy sensory play ideas. Because I have better things to do than pick dried beans out of grass. Junior loves playing with ice, so I wondered how I could turn ice play into a sensory rich activity. I found a few ideas for ice drawing, ice cube shapes, and freezing toys inside of ice cubes. Perfect.

All you need is an ice cube tray, water, and some small toys or craft supplies.

I couldn't find my big ice cube tray, so I had to use a tiny one, but it had different shapes, so it was fine. I placed one item in each little slot and filled it with water, then froze it. After a couple hours, I gave them to the kids to play with...outside, of course. They held them and played with them until the ice melted and they were left with a surprise!

Here's a picture of how they turned out.

Here are some ideas for ice cubes tray fillers: 
(*always keep an eye on your children to make sure they don't put any small items in their mouths once the ice melts. Consider the age of your children when using items that could be a choking hazard.)
  • stickers
  • glitter
  • buttons
  • marbles
  • small plastic animals
  • beads
  • feathers
  • bouncy balls
  • wooden letters and numbers
  • craft pom-poms
  • fruit such as cut grapes or strawberries (for an edible surprise)
Follow Save Money, Live Joyfully on Facebook, Twitter, and Pinterest

Pin This! 


Linked up at: A Mama's Story, Enchanted Homeschooling Mom, Mom's the Word, and Parenting and Homeschooling in Faith

Tuesday, July 22, 2014

Kid's Craft...Felt Funny Faces

I love doing art projects with felt. It's cheap, colorful, and you can do just about anything with it. When Stinker was little, I made Felt Cookies for her to decorate, and she still pulls it out to play with on occasion. Since Junior has been learning the body parts in speech therapy, I thought it would be fun to make a felt face game for him to practice naming facial features.

You'll want to get a bunch of different colors of felt...each piece is only about $0.20, and different colors makes it more fun, I think.

Start by cutting a head shape out of a light colored piece of felt...I just free drew it, so it's a little off, but the kids shouldn't notice =) 

Then, cut out a bunch of shapes for the eyes, nose, ears, hair, mouth, and miscellaneous (eyebrows, earrings, mustache, etc). I did a half dozen of each body part in various colors. The mix and match is fun. Divide each type of facial feature into different baggies if you want, or just put them all in one big bag and let the kids design away! The results are fun...and sometimes a little creepy...but I love watching my kids be creative!

After they've designed their face, encourage your child to name his or her character, and tell a story about their character.


Browse my other Kid's Craft Projects

Join the Save Money, Live Joyfully Facebook Community

Pin This!


Sunday, March 30, 2014

Art Project-"Stained Glass" Watercolor Collage

This project was kind of our version of an Art Closet Chopped competition. I had scheduled "Art Project" into our school day last week, but somehow forgot to plan exactly what we were going to do. Without time to prepare, I grabbed a few art supplies and improvised. Luckily, Stinker enjoyed it, and it actually turned out pretty cool if I do say so myself. Behold, "Stained Glass" Watercolor Collage.

The best part? Only 4 basic supplies you probably already have at home!
  • 1 sheet white construction paper (I used 11"x 17")
  • 4 white coffee filters
  • watercolor paints
  • glue stick

Rip up the coffee filters and form a collage on the construction paper. This will create the stained glass effect on the your work of art. Attach the coffee filters with a glue stick (regular white glue won't allow for the watercolors to permeate as well, so make sure to use a glue stick.) Then, just have your child take a paintbrush and some watercolors to the collage, and watch it turn into a beautiful stained glass collage!

It's that simple! Enjoy!


You're Invited to Join our Facebook Community
Follow me on Pinterest :)

Sunday, April 7, 2013

DIY: Travel Lap Tray

I'm really excited about my DIY project today!

Stinker likes to draw/color/write in the car, but inevitably, it makes a mess and markers go everywhere whenever I make a turn. So I decided to make a contained tray that would allow her to keep all her projects in one place.

I purchased a cookie sheet from the dollar store. I found a notebook on clearance at Michaels, as well as adhesive magnetic strips, and found a small container and mini dry erase board erasers in the Target Dollar Spot. I had washable dry erase markers on hand, but you could use any markers. They don't have to be dry erase. The cookie sheet is a great surface to write on...simply erase with a dry erase eraser or a damp paper towel.

I merely cut the magnetic strips to size and attached them to the notebook and small container, then stuck them to the cookie sheet. That's it! You can also place the magnetic adhesive on other things, such as action figures or blocks*.

*Magnets are a choking hazard. Make sure your child is supervised while playing with anything that has a removable magnet. Ensure the magnet is properly affixed to the toy before giving it to your child. 

Stinker is going to be so excited when I give it to her. She might even bring it everywhere we go, and not just use it in the car!


Price: 
Cookie Sheet....... $1.00
Small Container.....$1.00
Notebook.............$0.50
Dry Erase Erasers.$1.00
Magnetic Strips....$1.79 (though I only used about a third of the bag, I'm including the full price.)
-----------------------------
Total...................$5.29

Come Join our Facebook Community!

Tuesday, November 13, 2012

What's In the Bible DVDs...20% Off!


The other day on a recommendation, I picked up "Why Do We Call It Christmas?," a DVD in Phil Vischer's (the creator of Veggie Tales) new series called "What's In The Bible" that teaches children about the concepts and stories of the Bible.

Heading into the Christmas season, I wanted our 4-year old to learn the significance of the true meaning of the holiday. I expected this DVD series to be goofy and entertaining only for children, but I was SO wrong. We both thoroughly enjoyed the history and humor in "Why Do We Call It Christmas?," so much so, that my husband picked up a couple more DVDs from the "What's In The Bible" series on his way home from work that evening. Our entire family has loved the episodes and we have learned so much about the Bible in an entertaining yet informative way.

If you are purchasing for a child this year, (I think this series is geared towards the 4-10 year old range; a little older than Veggie Tales) I would highly recommend ordering these DVDs. This link will give you 20% off your purchase, with free shipping on orders over $15.

Join the Save Money, Live Joyfully Facebook Community for More Inexpensive Christmas Ideas!

Saturday, October 20, 2012

DIY Super Spy Kit

My 4 year old loves playing "Super Spy". Routinely I hear from the other room: "Secret agent Mommy, come in! Over."

Last year, I saw this post for a homemade detective kit and bookmarked it. Since we're cutting back on Christmas (using Swagbucks to earn Amazon gift cards towards gifts and Ebates for cash back when shopping online), I thought this homemade gift would fit the bill for both frugal and fun!

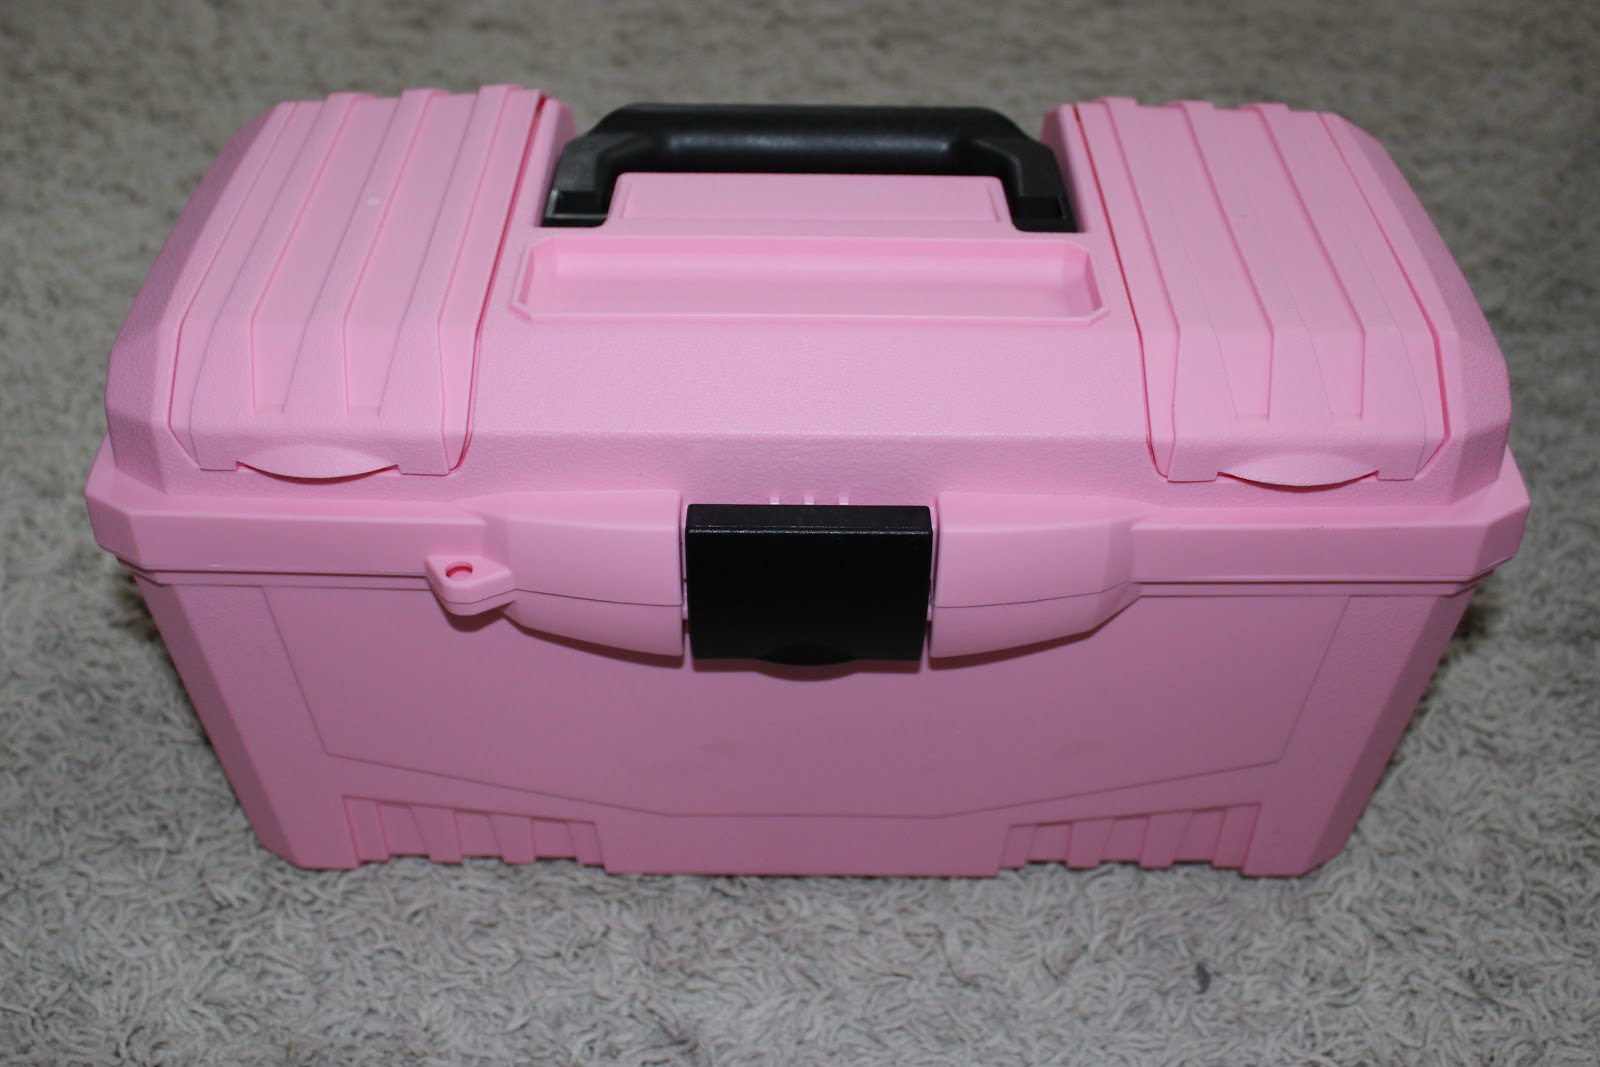
You can spend as much or as little on this gift as you want. I wanted a sturdy carrying case, and this toolbox was multipurpose enough (meaning she can use it for other things once she grows out of the Super Spy stage) that I thought it was worth the extra $10 than the cheap container I was originally considering. But you can use anything for the carrier. You could even wrap an old shoe box.

As for what I put inside, again, it's up to you! Luckily, school supply items were still on the racks when I started this gift, so I got inexpensive pens, pencils, tape, and paper. Pens and pencils and index cards and paper for writing notes, Secret Message Pens (found at World Market) for secret codes, and a stamp pad and tape for finding fingerprints.

I also added baby powder (fingerprint dust), brushes (for brushing off evidence), tweezers (for picking up evidence) and "evidence containers", aka small craft containers found at Michaels.

Finally, a Super Spy Headlamp (the big ticket item of the bunch at $6), a magnifying glass, and secret disguise glasses (found in the Dollar Spot at Target) rounded out the gift.

I had so much fun making this gift, and I can't wait to see the creative ways my daughter will use it!

 
Come Join the Save Money, Live Joyfully Facebook Community for More Tips and Ideas!

Saturday, September 29, 2012

Learning Game: Math War

In homeschooling my 4 year old, I've learned several things:

1. Everything is better with glitter.
2. M&Ms make a wonderful motivation to finish a lesson.
3. Fun games can be a very effective and inexpensive learning tool.

Since I still haven't gotten all the glitter out of our tile grout, and I may have finished off the M&Ms in a late hour last night, I'll focus on number 3.

I originally found the idea for Math War over on this website and decided to make just a few changes. I used the number cards from an Uno deck (the numbers are larger, and they contain 0-9 instead of 2-10 in a regular deck), and I added Legos as a visual manipulative to help my daughter add the numbers together.

Divide the cards into equal piles face-down. Each player lays the top two cards in their pile face up. Put together the proper amount of Legos and place them next to each card.

Stack the two Lego sets from your two cards together, and count the sum.

My daughter likes to put the two Lego stacks side-by-side to visualize which has more.

The person with the highest sum gets the pile. Continue playing until all cards have been dealt. Each player adds up their stack of cards. Whoever has the most is the winner!


Looking for more Learning Games and Kid's Activities? Browse them all HERE

Come Join the Save Money, Live Joyfully Facebook Community for more tips and uplifting articles.

Wednesday, April 18, 2012

Kid's Art Project-Fizzy Colors

I saw this idea on Pinterest and knew it would be a great project for my preschooler. All you need is a rimmed baking sheet, baking soda, vinegar, and food coloring. This kept my daughter occupied for an entire hour! 

Fill the rimmed baking sheet with baking soda, (I used a small sheet, and needed about 1 C baking soda to cover it) and fill several small containers with vinegar. Add the desired colors of food coloring to the vinegar. Using a medicine dropper (or a straw, since I have no idea where our medicine dropper disappeared to), drop some colored vinegar onto the baking soda sheet and watch it fizz up!

It was only so long that my daughter wanted to use the measly straw, though, so soon she was dumping it via spoon. It's fine. Vinegar and baking soda doubles as a great all-purpose cleaner :)
We discussed the concept of a chemical reaction, and why the colors fizz when they hit the baking sheet.

I refilled the baking soda sheet three times once it was saturated with vinegar. I could have gotten some chores done, but my daughter was enthralled and kept yelling "Mama, hurry! Come see! This is amazing!"

Check out all our Kid's Art and Learning Projects HERE.

Come be a part of the Save Money, Live Joyfully Facebook Community.

Wednesday, April 4, 2012

Art Project-Bunny in the Grass

 This is a cute little spring craft that only requires construction paper, glue, a couple googly eyes, a Sharpie, and some crayons. (I had the pom-poms and tissue paper squares out just in case my daughter wanted to add them to the project.)

Free hand a bunny head (I promise it's not that hard...it's a circle and some ears). I am completely art illiterate--if I can do it, so can you.

Draw the face in pencil first. Then outline the facial features in a black permanent marker. 

Then allow your child to color in the bunny, and glue him to a piece of construction paper. (The bunny, not the child.)

Rip out pieces of construction paper for the grass. Next time I would leave out the brown. It kind of turned him into "Camo Bunny'. 

Have your child glue the strips of paper (the grass) to the paper with the bunny. Mine really does look like Camo Bunny, but that's okay. We're just patriotic :)

 
Add googly eyes to the bunny, and that pathetic little yellow pom-pom is supposed to be a sun.We added glitter to the grass just because glitter makes everything better. That's a life lesson...remember it!

Check our our entire collection of Kid's Activities HERE
Join our Facebook Community for more fun ideas!

Saturday, March 31, 2012

Art Project--Paper Easter Eggs

My daughter and I decorated foam Easter Eggs last year, but I had forgotten about it until I saw this post from Motherhood On a Dime the other day. This project is kind of made up from a bunch of scrap art supplies, which makes it even easier!


First, clean off the art table. Optional, but recommended. Especially if having things all cattywampus stresses you out. But, it may not. I'll leave my organizational issues at the door...

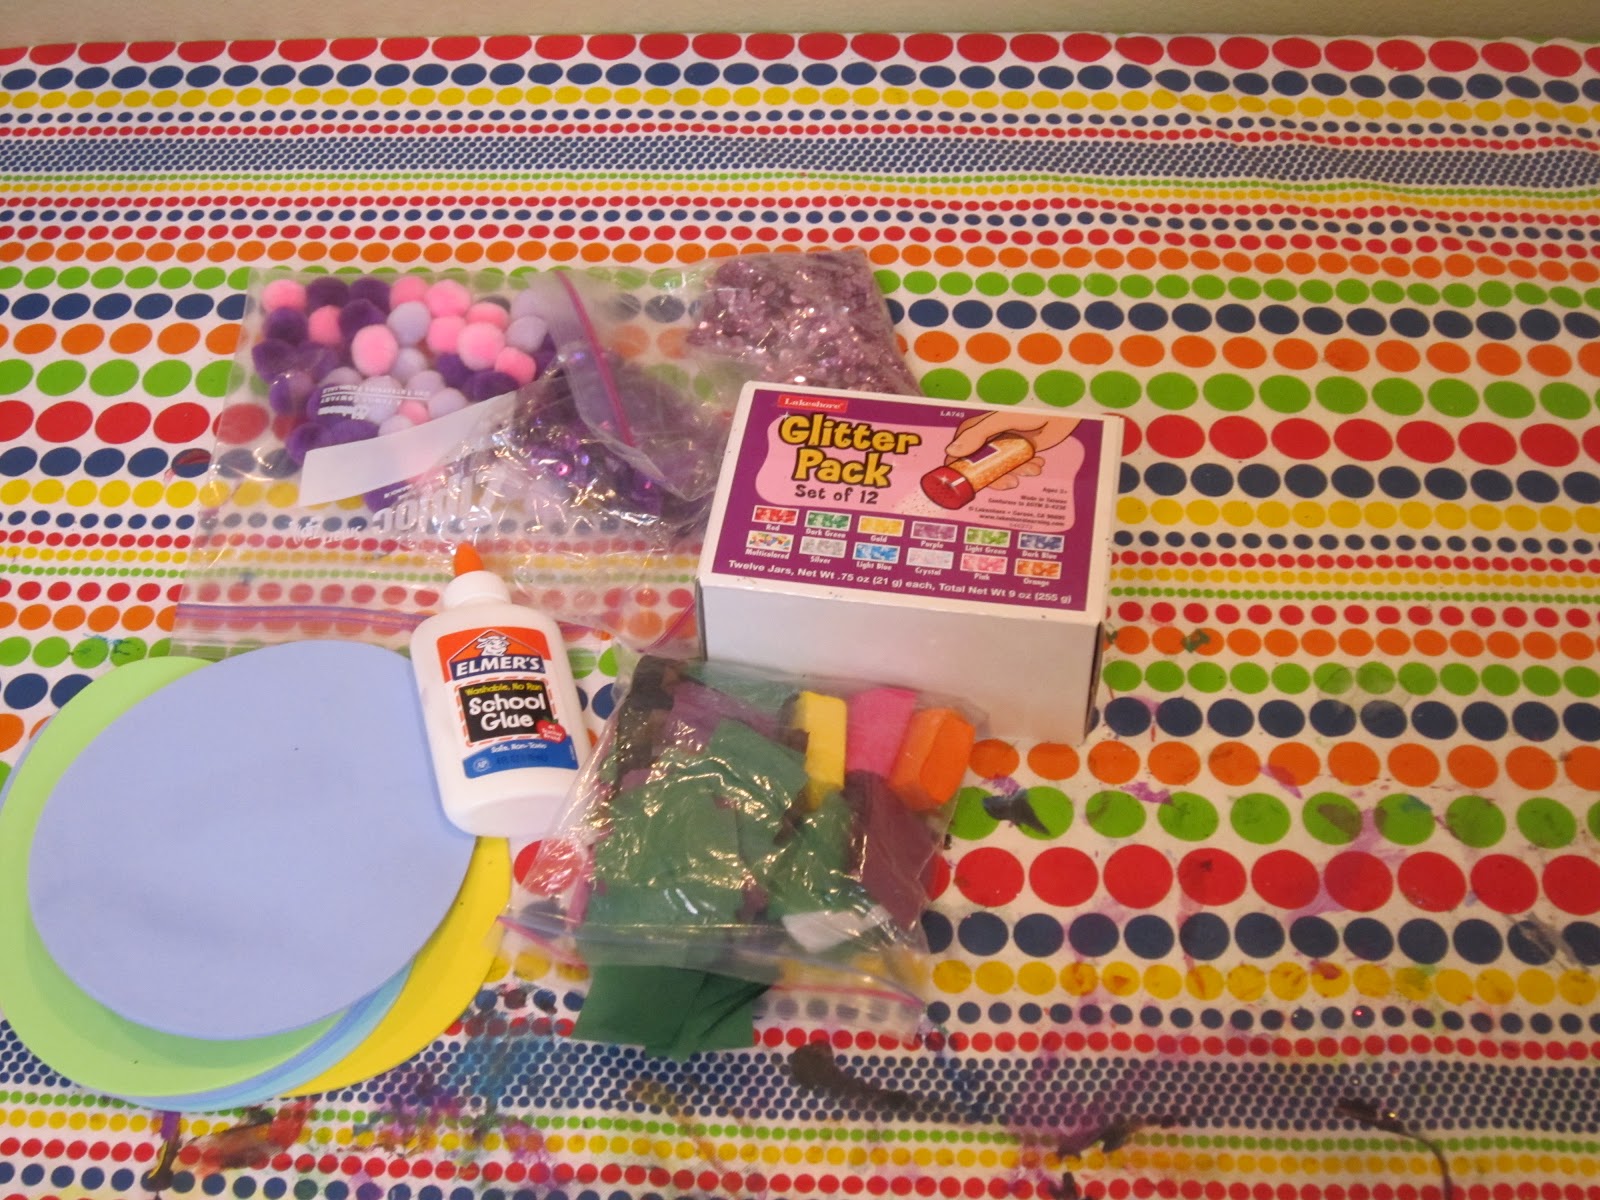
Ahhh, much better. (We won't discuss the paint that won't come off the tablecloth.) You can use any supplies you want for this project. I have foam Easter Egg cutouts, but you can use construction paper instead of the foam. Just cut out an egg shape. We also used glitter (glitter makes me happy), tissue paper squares, pom-poms. and sequins.

Put the glue and all the decorations out and let your kids do their thing. My daughter started out with the colored tissue paper squares.

Then she moved on to sequins.

The floor didn't look nearly as messy as I thought it would. My baby is growing up. (Sniffle, sniffle.)

After a couple healthy doses of glitter, here are the finished products. Mine is on the left. I once got a "C" in art. How on earth does one get a "C" in art? But, then again, how does a 20 year old receive a "B" in a course that included using 3-D glasses and foam puzzle pieces? So much for celebrating creativity. Pshawwww.

Anyway, I love this project because it's kind of like the "Leftover Night" of art projects. You can use whatever you have on hand to decorate, and it's fun and easy. And tell me, what better combination is there on earth that fun, easy, and glittery? (Hint: The answer is NONE!)

See All Our Art Projects and Kid's Activities HERE!

Come Join Our Facebook Community, We'd Love to See You!

Monday, March 12, 2012

Letter Cube Spelling

My daughter loves word and letter games, (thank you Leap Frog Letter Factory!), but we seem to play the same word games over and over. I was going through our board games cabinet (board games...you know, those things you used to have time for before children?), and found the Boggle game my aunt gave me for my 12th birthday. I knew I could use the letter cubes for a fun learning activity.

If you don't have Boggle cubes to use, you could tape a bunch of letters to the sides of blocks.

I asked my daughter to think of a word...any word...and we sounded it out together. To add more of a "game" aspect, I set a timer for two minutes to complete the word spelling.

For the word "paper", I asked my daughter:
"What letter makes the sound "p-p-p-p", then she'd search through the cubes for a P.
"What letter makes the sound "a-a-a-a", after which she'd find an A. And so on and so on until she spelled the word.
She had fun searching for the letters, and even pretended she had to "rescue the letters from the letter monster" before the timer ran out.

This activity helps children visualize letters with their corresponding sound, as well as letter recognition. But, most of all, it's fun. Learning should be fun, and by finding the kinds of games and activities your child enjoys, you will put him or her on the track to being a lifelong learner.

Wednesday, February 29, 2012

Kid's Activity--Imagination Connect-the-Dots

My three year old has a new favorite thing--Connect-the-Dots puzzles. As I was printing out page after page of Connect-the-Dots, I thought back to a game I used to play as a kid. I was never very talented with art or any kind of symmetry, really (remember my "Math Ideas" college course?), so I enjoyed doing "abstract" art projects, hoping the term "abstract" would distract people from the truth of my lack of artistic skill. In any case, all you need is a piece of paper and a marker. (Or pen, or pencil, or chalk, or any other writing utensil.)
Yep, that's all you need for a fun, imagination driven activity for any age.

Draw a lot of random dots on the paper. I like to close my eyes for true random placement, but make sure the marker is washable if you do that. Trust me. Sorry for the shadowed photos...it was an awfully sunny day. (Not that I'm complaining...)

Then have your child connect the dots in any direction or order he/she wants. Once finished, encourage your child to tell you what they see. My daughter and I both saw a dinosaur with a long tail in this one.

Turn the paper sideways or upside down. From this angle it looks like a kangaroo with a mohawk!

I see a howling coyote here!

For more fun, have your child add eyes, a nose, etc, and color their design. Think of this activity as sort of cloud watching. Without the clouds. And not being outside. And with paper. But, it encourages imagination, which is always good.

Want more fun ideas? Check out our collection of frugal kid's activities. Then come join our Facebook Community!

Tuesday, February 14, 2012

The Great Valentines Day Pancake Experiment

I'm not a particularly handy, crafty, artistic, or do-it-yourself person. Not for lack of desire, but because that gene seemed to have skipped me. I've tried and failed miserably at knitting, sewing, and [insert any do-it-yourself activity found on Pinterest]. I do, however, love pancakes and can find my way around the kitchen pretty well. So, when I saw some ideas for heart shaped pancakes last week, I knew I was going to attempt them as a Valentine's Day breakfast for my family.

I whipped the pancake batter up the night before, and Valentine's Day morning I hopped out of bed (a rarity for this night owl) excited to make delicious, perfectly shaped heart pancakes. Entertaining visions of appearing in the next Martha Stewart Living issue, I transferred the batter into plastic condiment bottles, added red food coloring to half the batter, and heated up the pan.

The first pancake turned out a little awkward, but it was the first pancake after all, and the first pancake is never very good. Then the fun started. The batter kept getting clogged in the bottles. First I tried to clear it with a toothpick, then a bamboo skewer, then I started sawing off the top of the bottles with a serrated knife. This last step, in turn, took away any precision I may have had, thusly creating red and white pancake explosions.

Several pancakes ended up somewhat heart shaped...albeit the kind of "hearts" you would find in a Modern Museum of Art. And, my daughter really enjoyed her breakfast. (I'm completely ignoring the fact that she would have enjoyed any shape/color/variety of pancakes just as much.) It only cost me two condiment bottles (which couldn't be salvaged after I sawed the tops off), 20 extra blood pressure points, and 45 minutes of my life. Next year, I think we'll go out.

And, if my husband is reading this, yes, you told me so.

Do You "Heart" Us? Follow us on Facebook!

Friday, February 10, 2012

Felt Valentines Baking Fun!

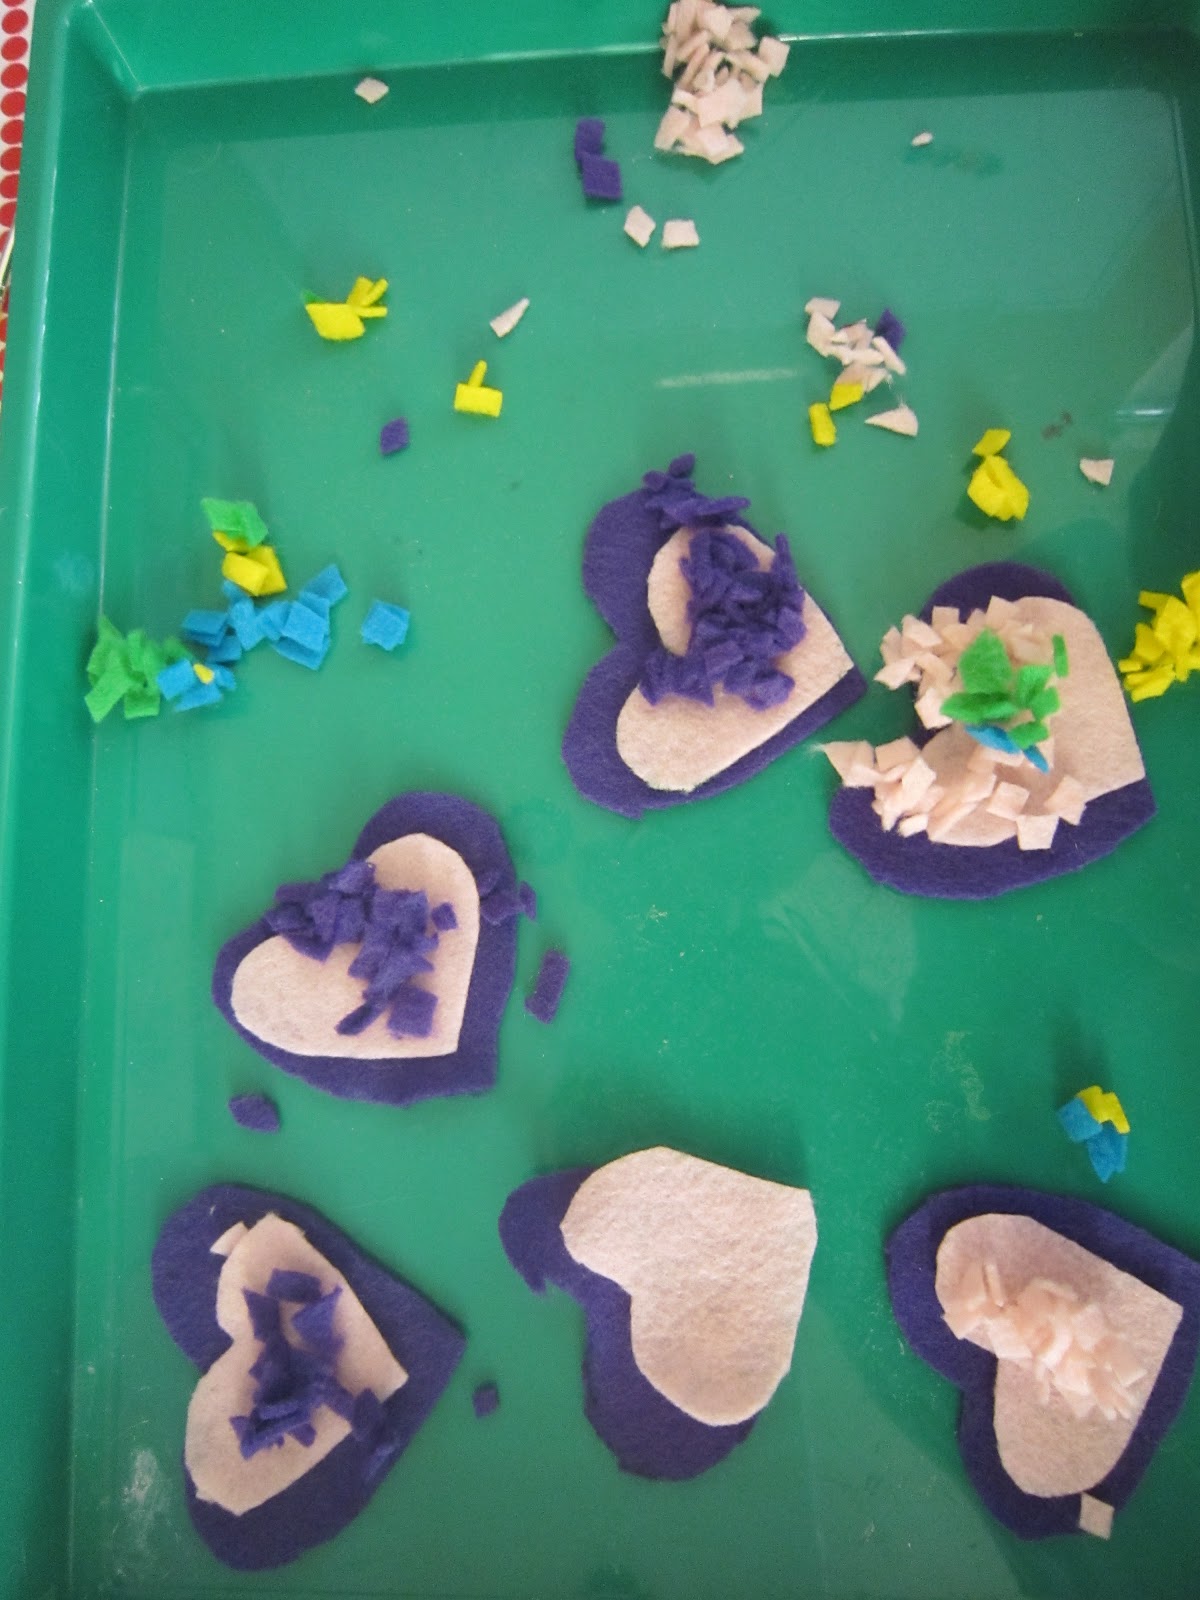
I saw this adorable idea over on I Can Teach My Child and thought it would be the perfect easy craft. I didn't have all Valentines Day colored felt, but we had some pink and purple on hand, so it was fine. My daughter enjoyed this for a few rounds of decorating and baking, but I think it's something I can pull out throughout the year that will keep her occupied. It took about 30 minutes of prep work, but well worth it.

I tried to decorate some cookies as well, but she reminded me that cookies must be baked before adding the frosting and decorations. Silly me =)


Tuesday, October 11, 2011

Kid's Art Projects...Secret Code Painting

Being in my first trimester of pregnancy, I'm sick and tired. All the time. So, I was looking for an easy activity to keep my daughter occupied that didn't require a lot of time, effort, or clean-up. Enter Secret Code Painting! All you need is white paper, a white crayon, and watercolors.
Start by drawing a picture or writing your message on a white piece of paper with white crayon.


Once you're finished, let your child start painting with watercolors on the paper. Soon, your message or picture will appear like magic!


My daughter yelled: "Look, an egg!" When I shook my head she said "A tomato!". Shaking my head again, she said "An apple!" Finally she threw her hands up and said "I have no idea what that is!" In case you can't tell, it's a pumpkin. Happy Fall!

For more fun ideas, join the Save Money, Live Joyfully Facebook Community!

Popular Posts